We offer every student a unique experience using industry standard software and devices, meaning everyone we teach can create on the same playing field.
Students are allowed to take part with their own devices, but we strongly believe that the opportunity to make art should be open to everyone, so we have devices ready for students to use.
Every tablet is preloaded with art software and specially locked to help kids of any age focus on creating in our space away from everyday distractions. The restrictions also mean you don’t have to worry about internet access disrupting your child’s learning or putting them in an unsafe situation.
That’s why we’re confident that learning with us is the easiest way to have fun and engage with art no matter your child’s background.
Our lessons
Lesson 1: Quickdrawing and Form shading
Our special introductory class for complete beginners with Procreate eases learners into its unique way of drawing using the “quickdraw” function to easily create graphic design shapes like circles and squares.
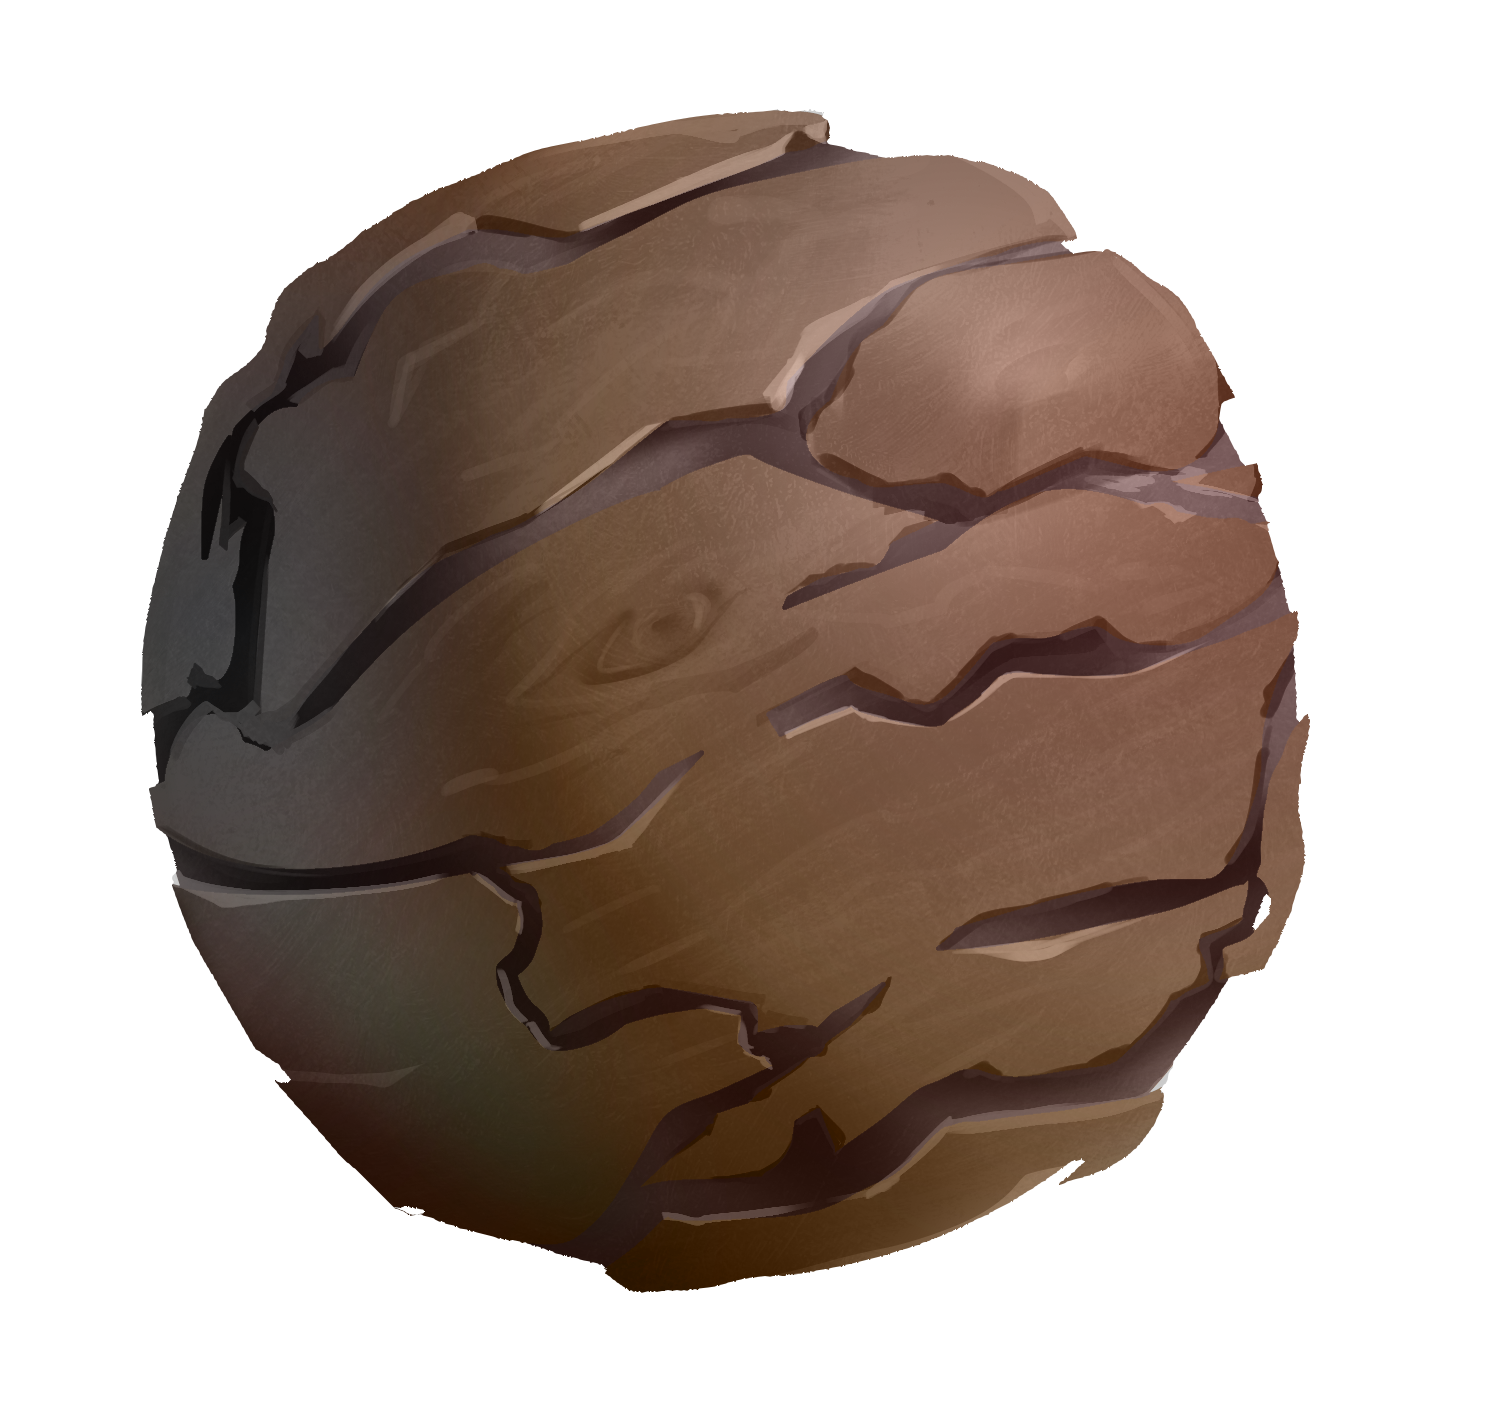
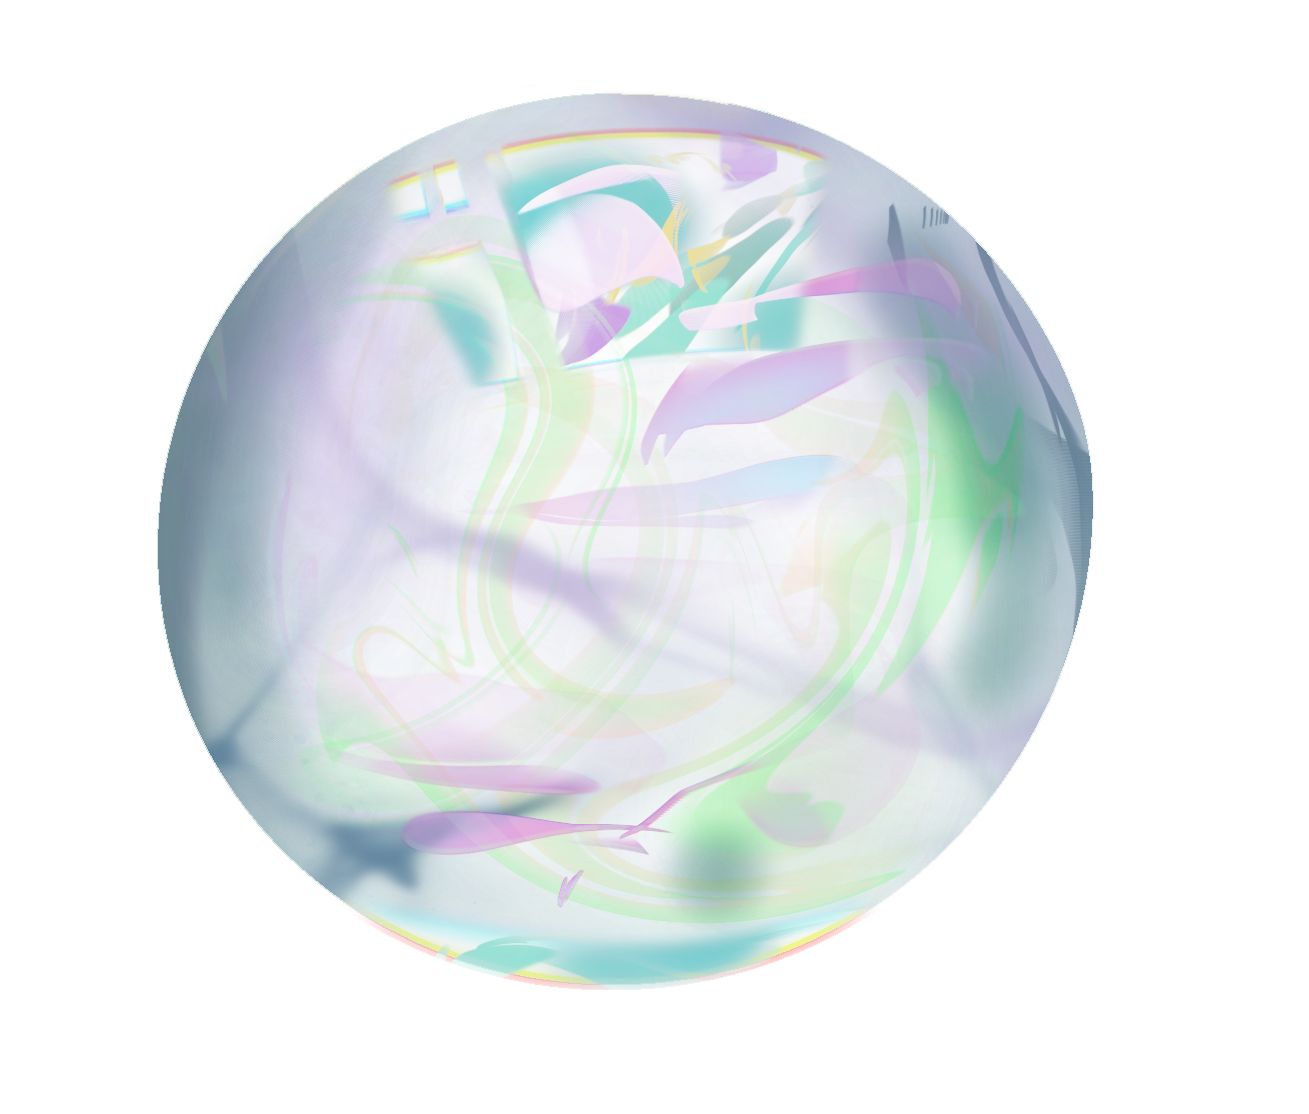
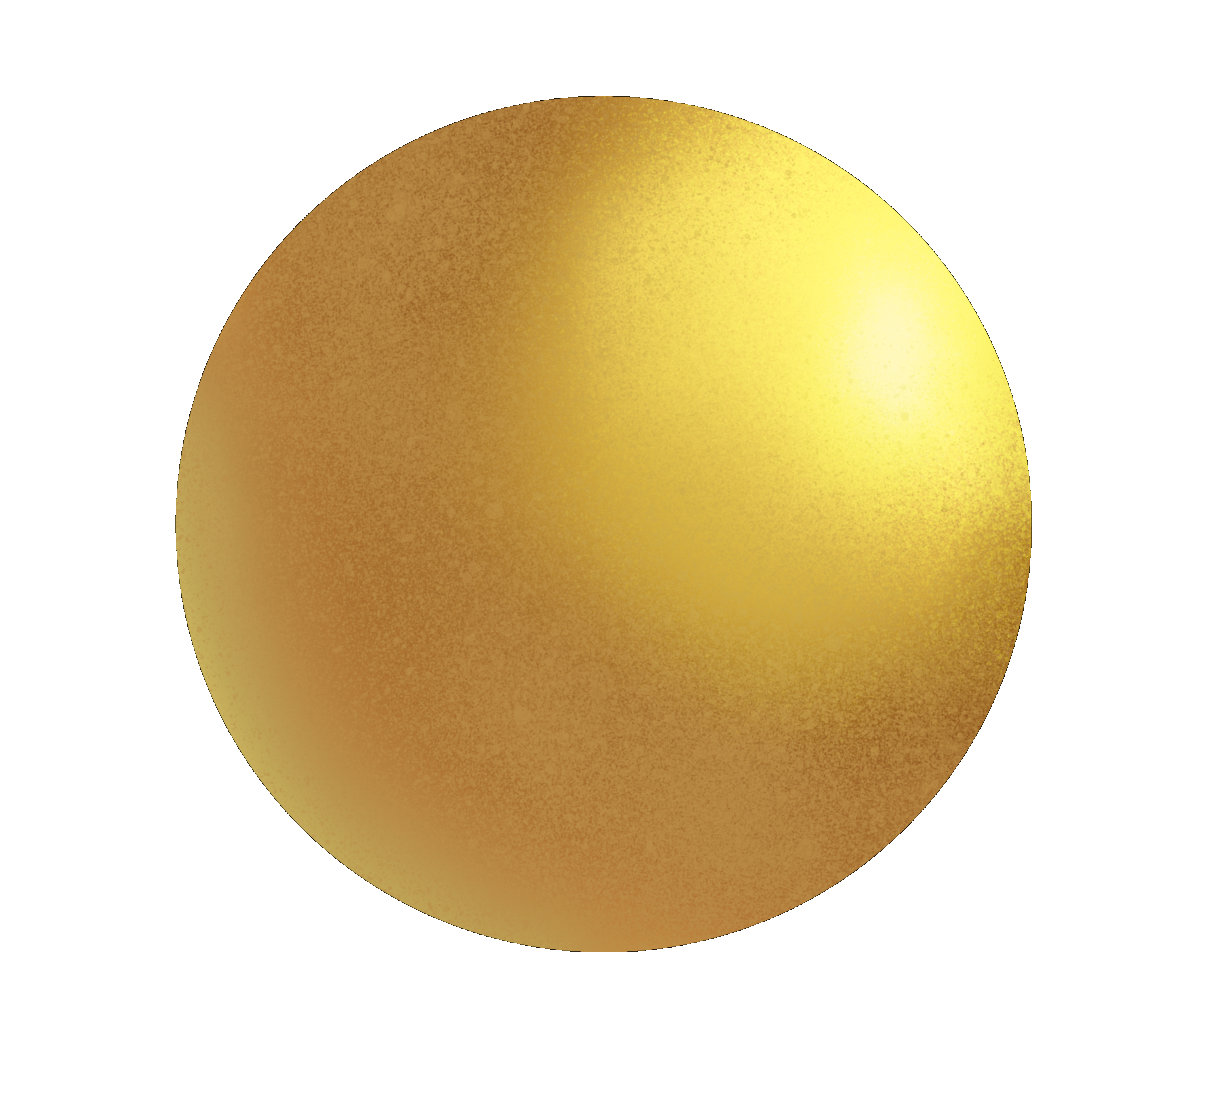
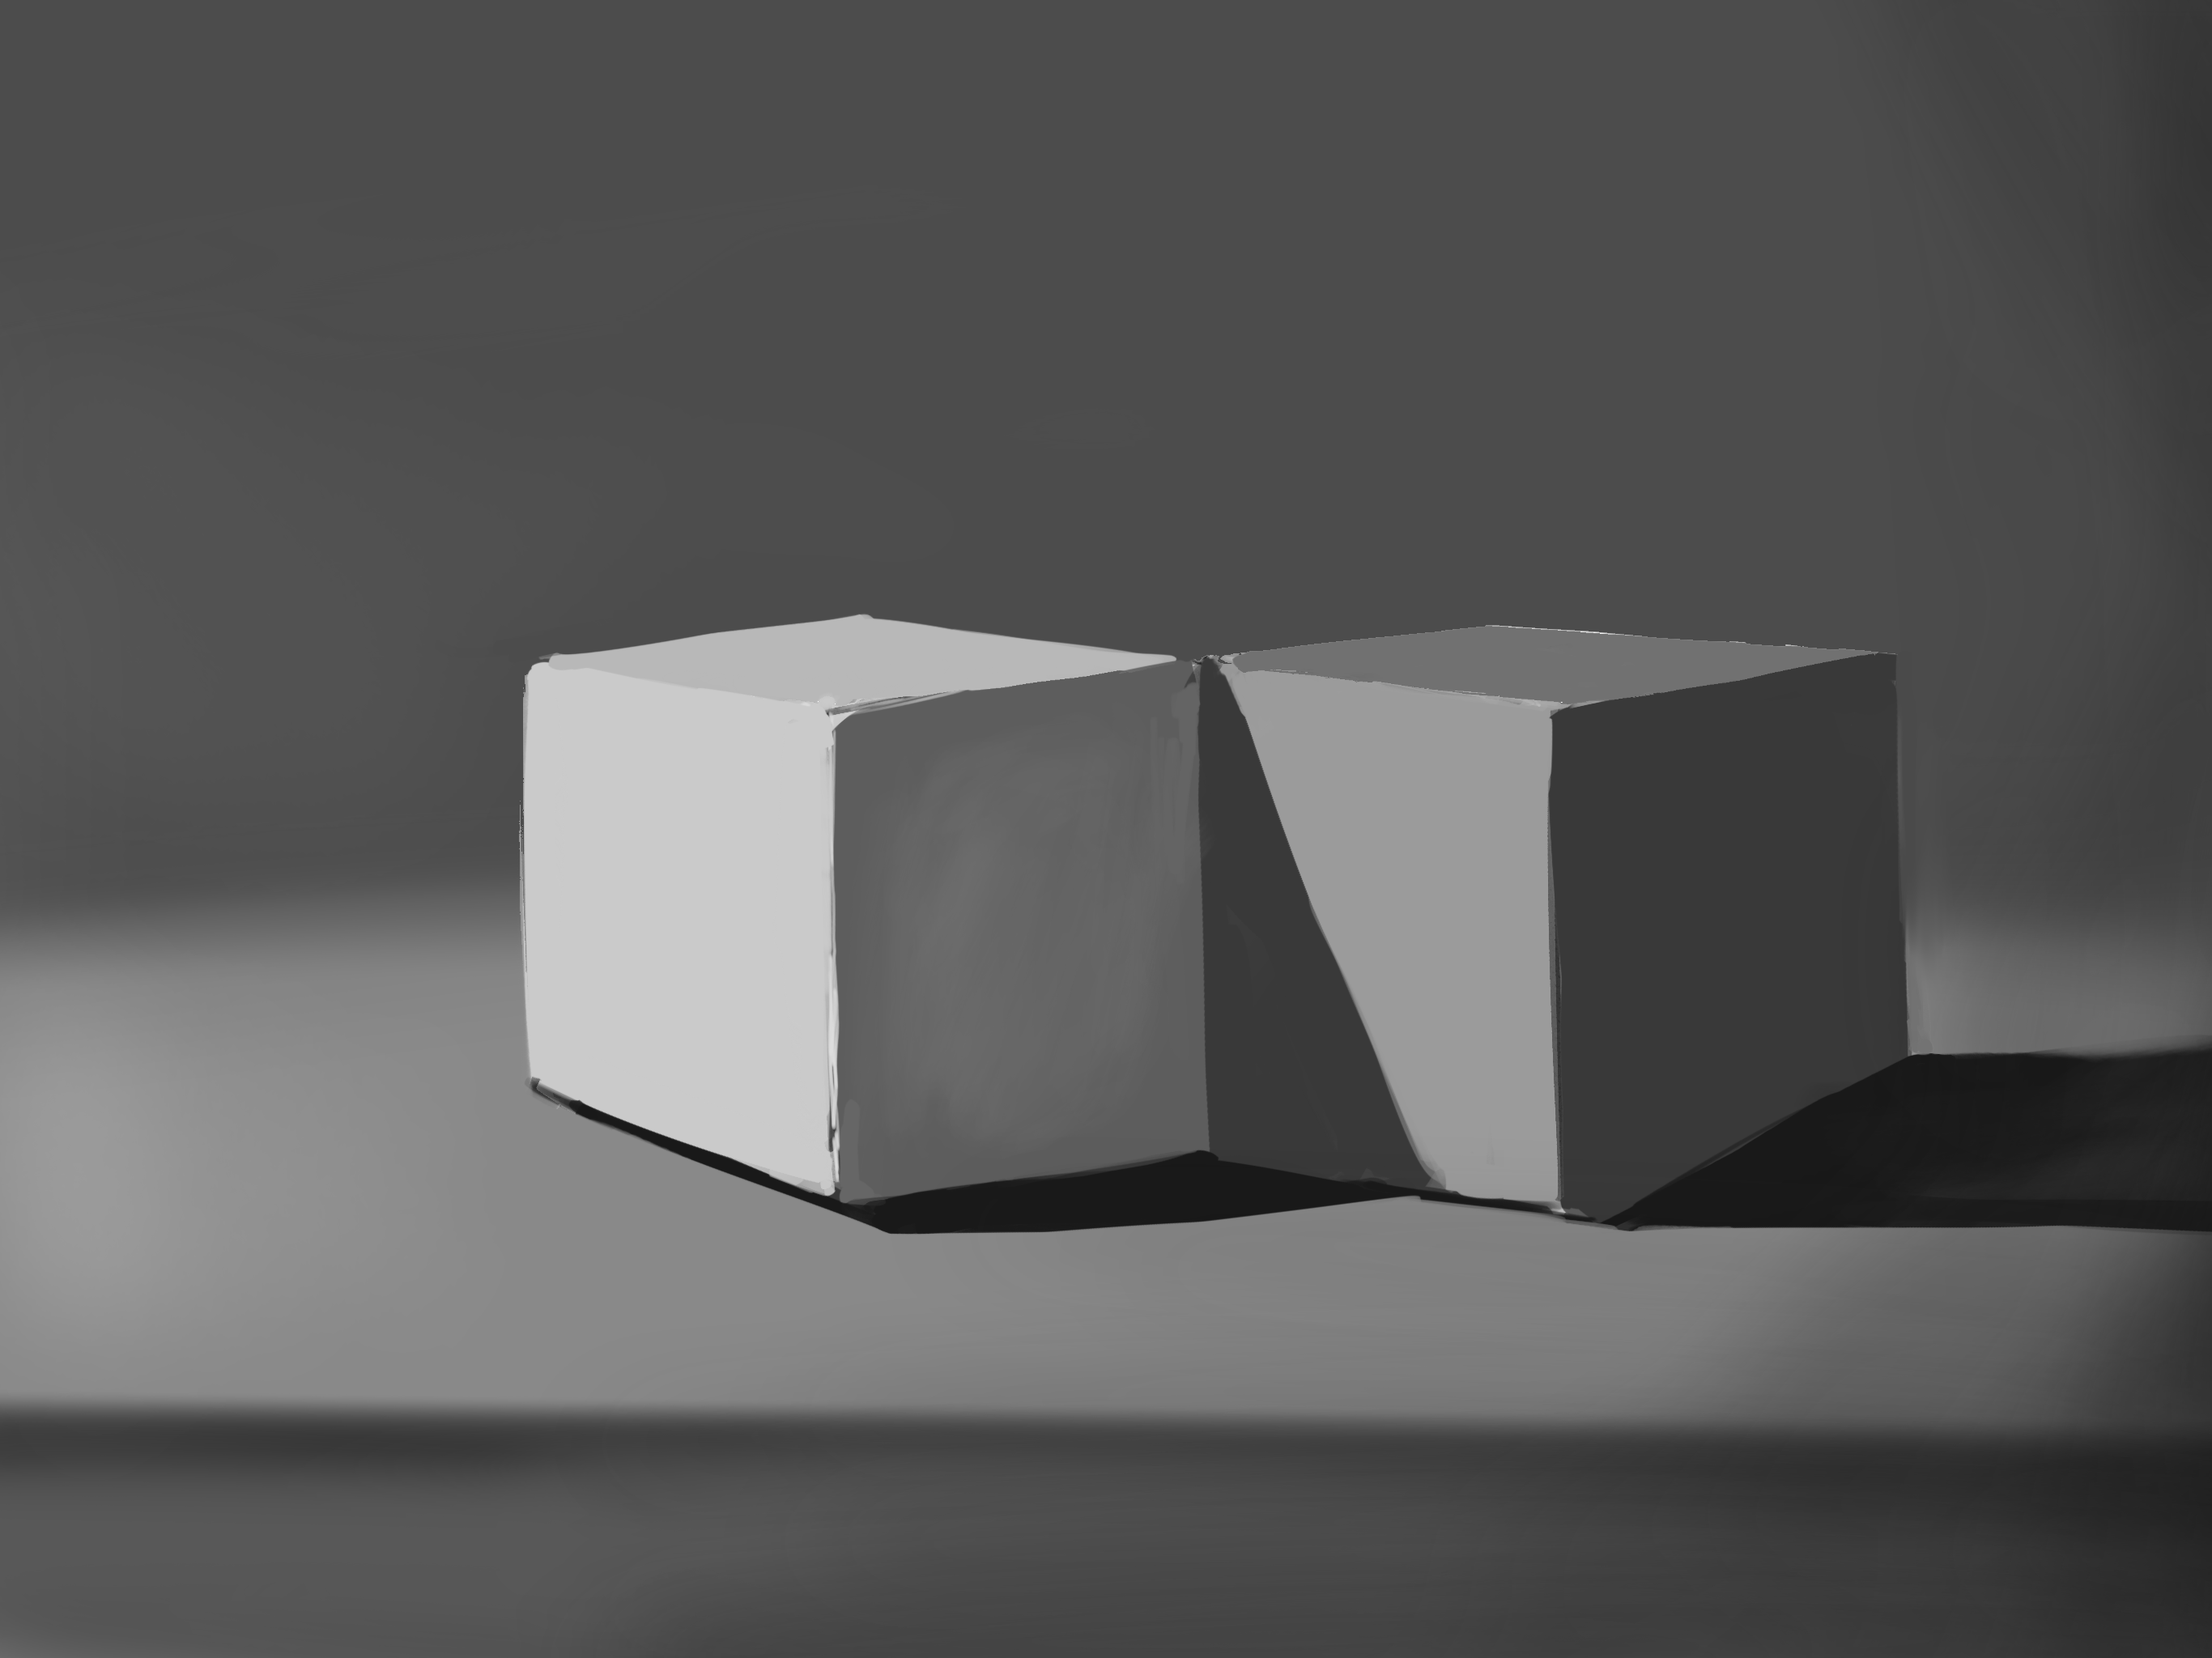
This not only helps to get anyone regardless of skill level on the same page, it also lays the foundations for shading and texture. The process of adding shadows to a sphere is often taught in fine art courses as a fundamental exercise for building up shading and form skills.
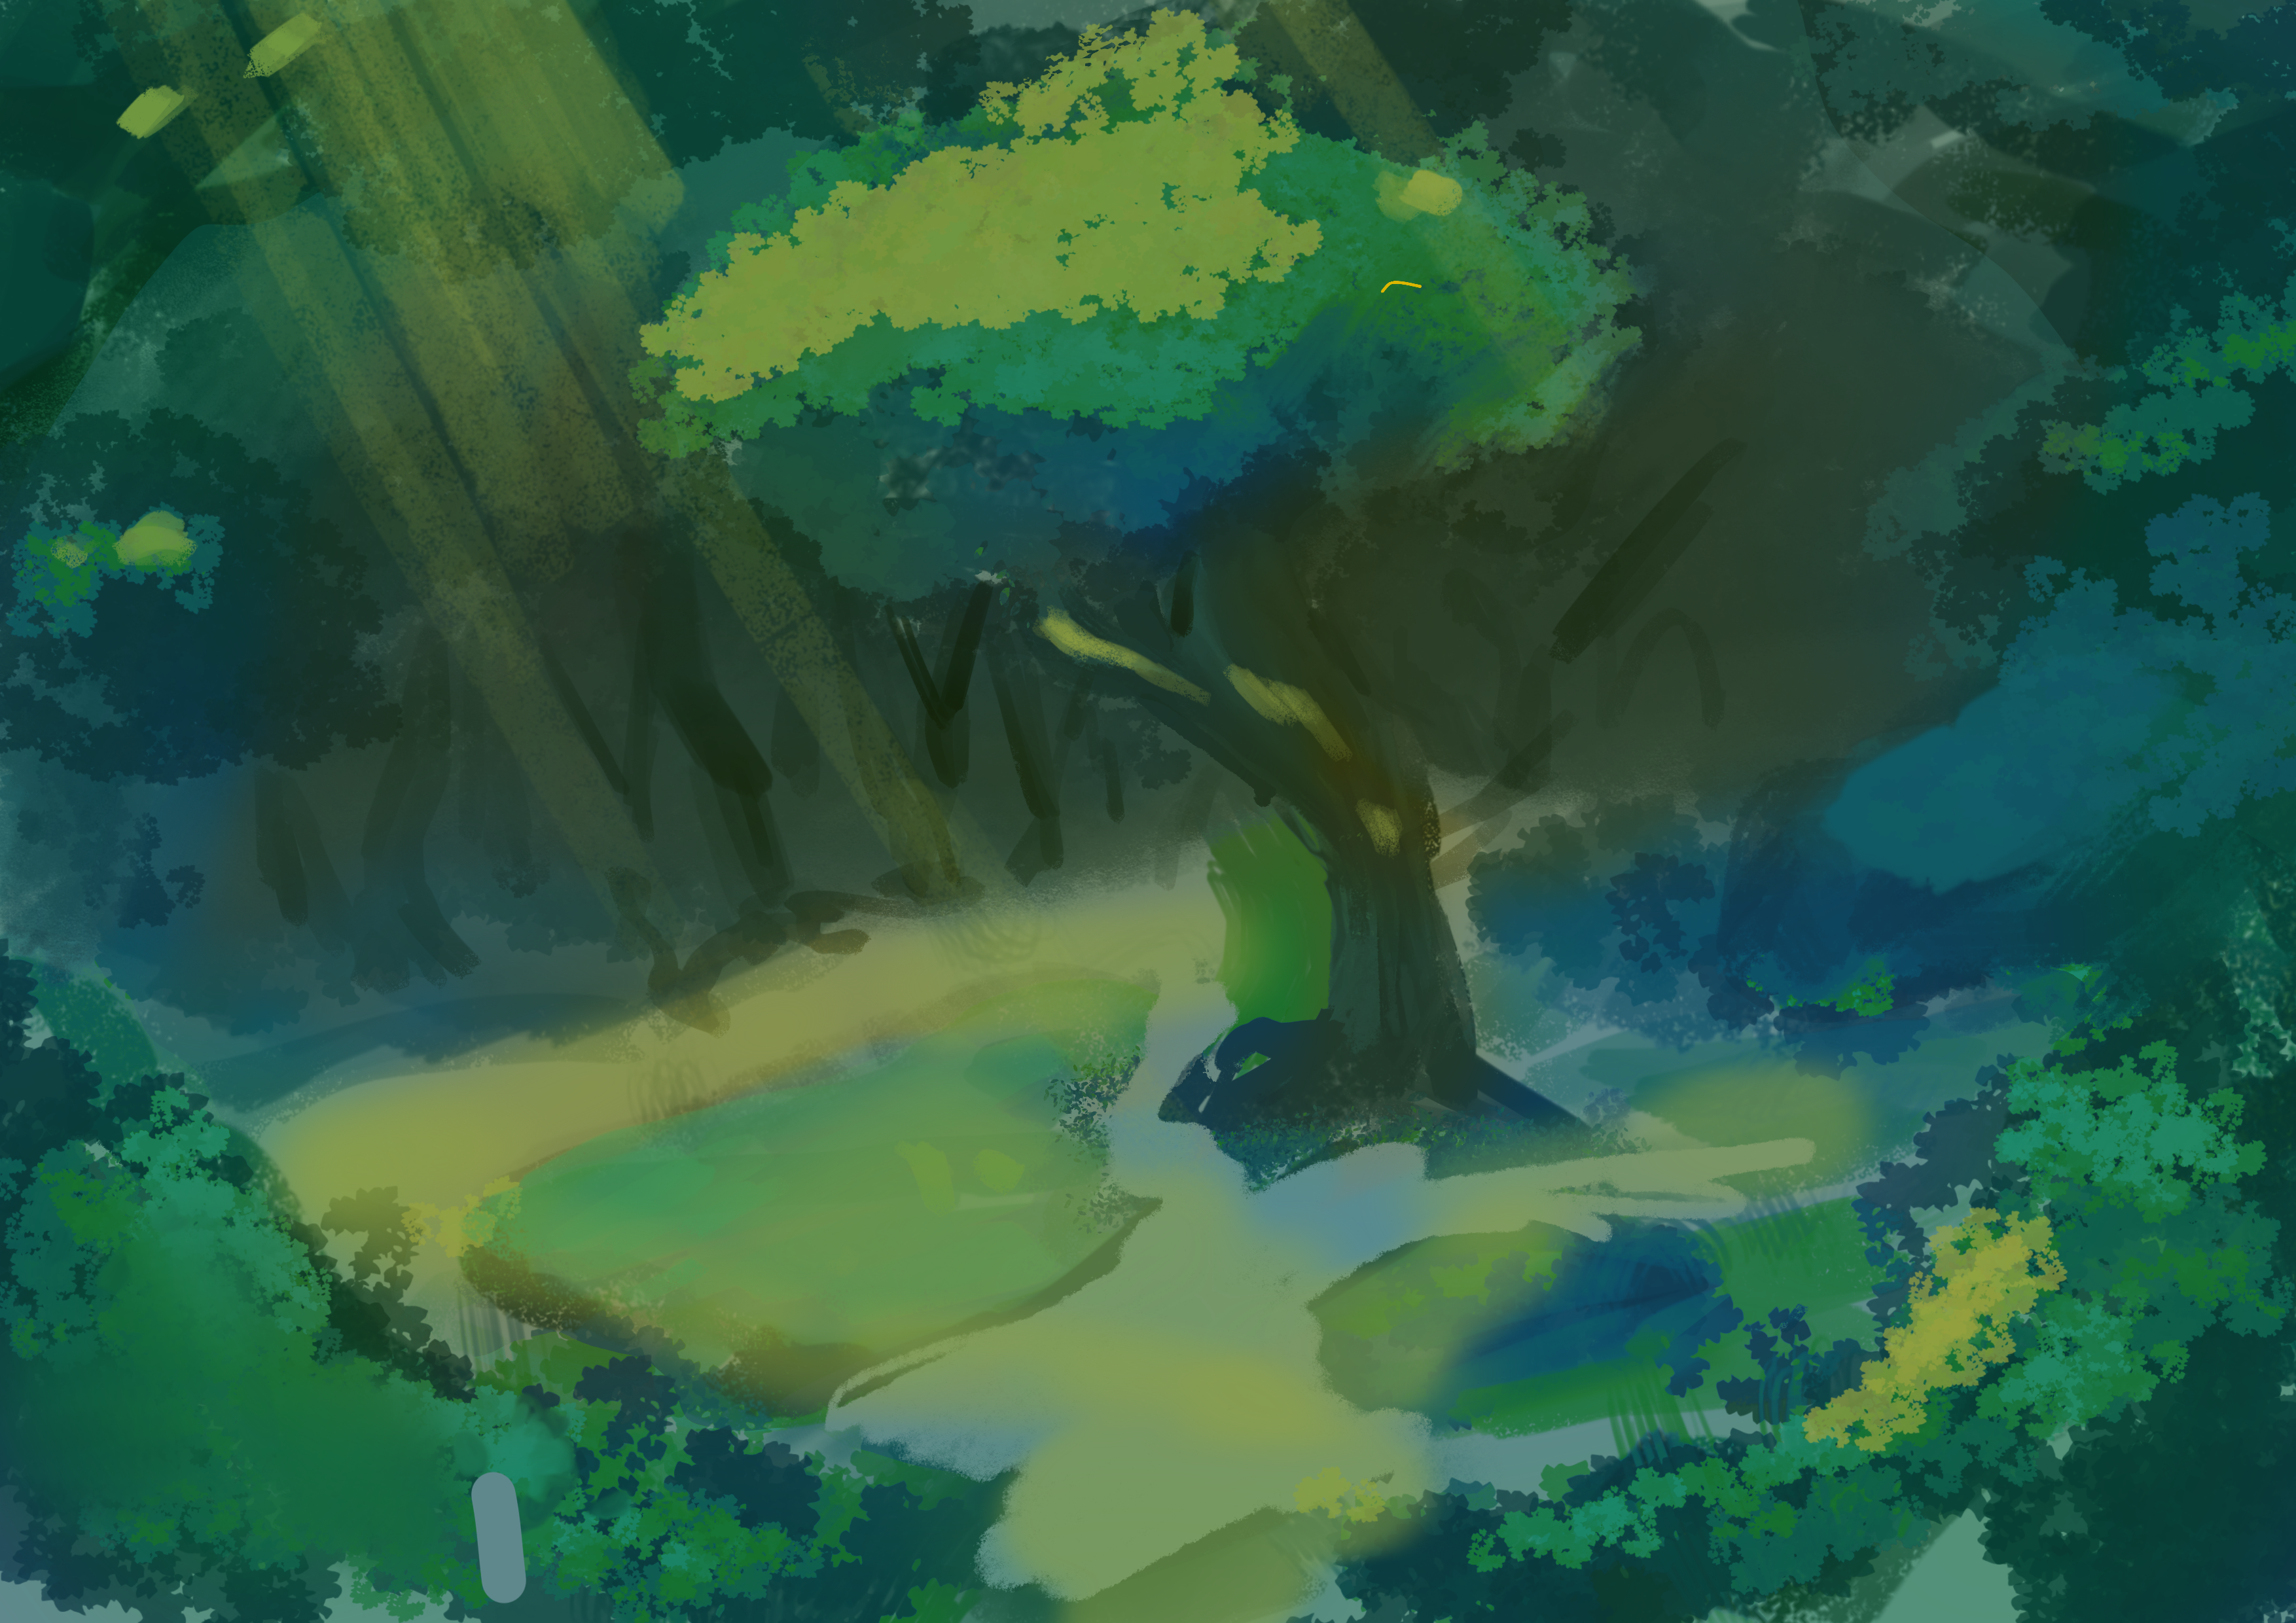
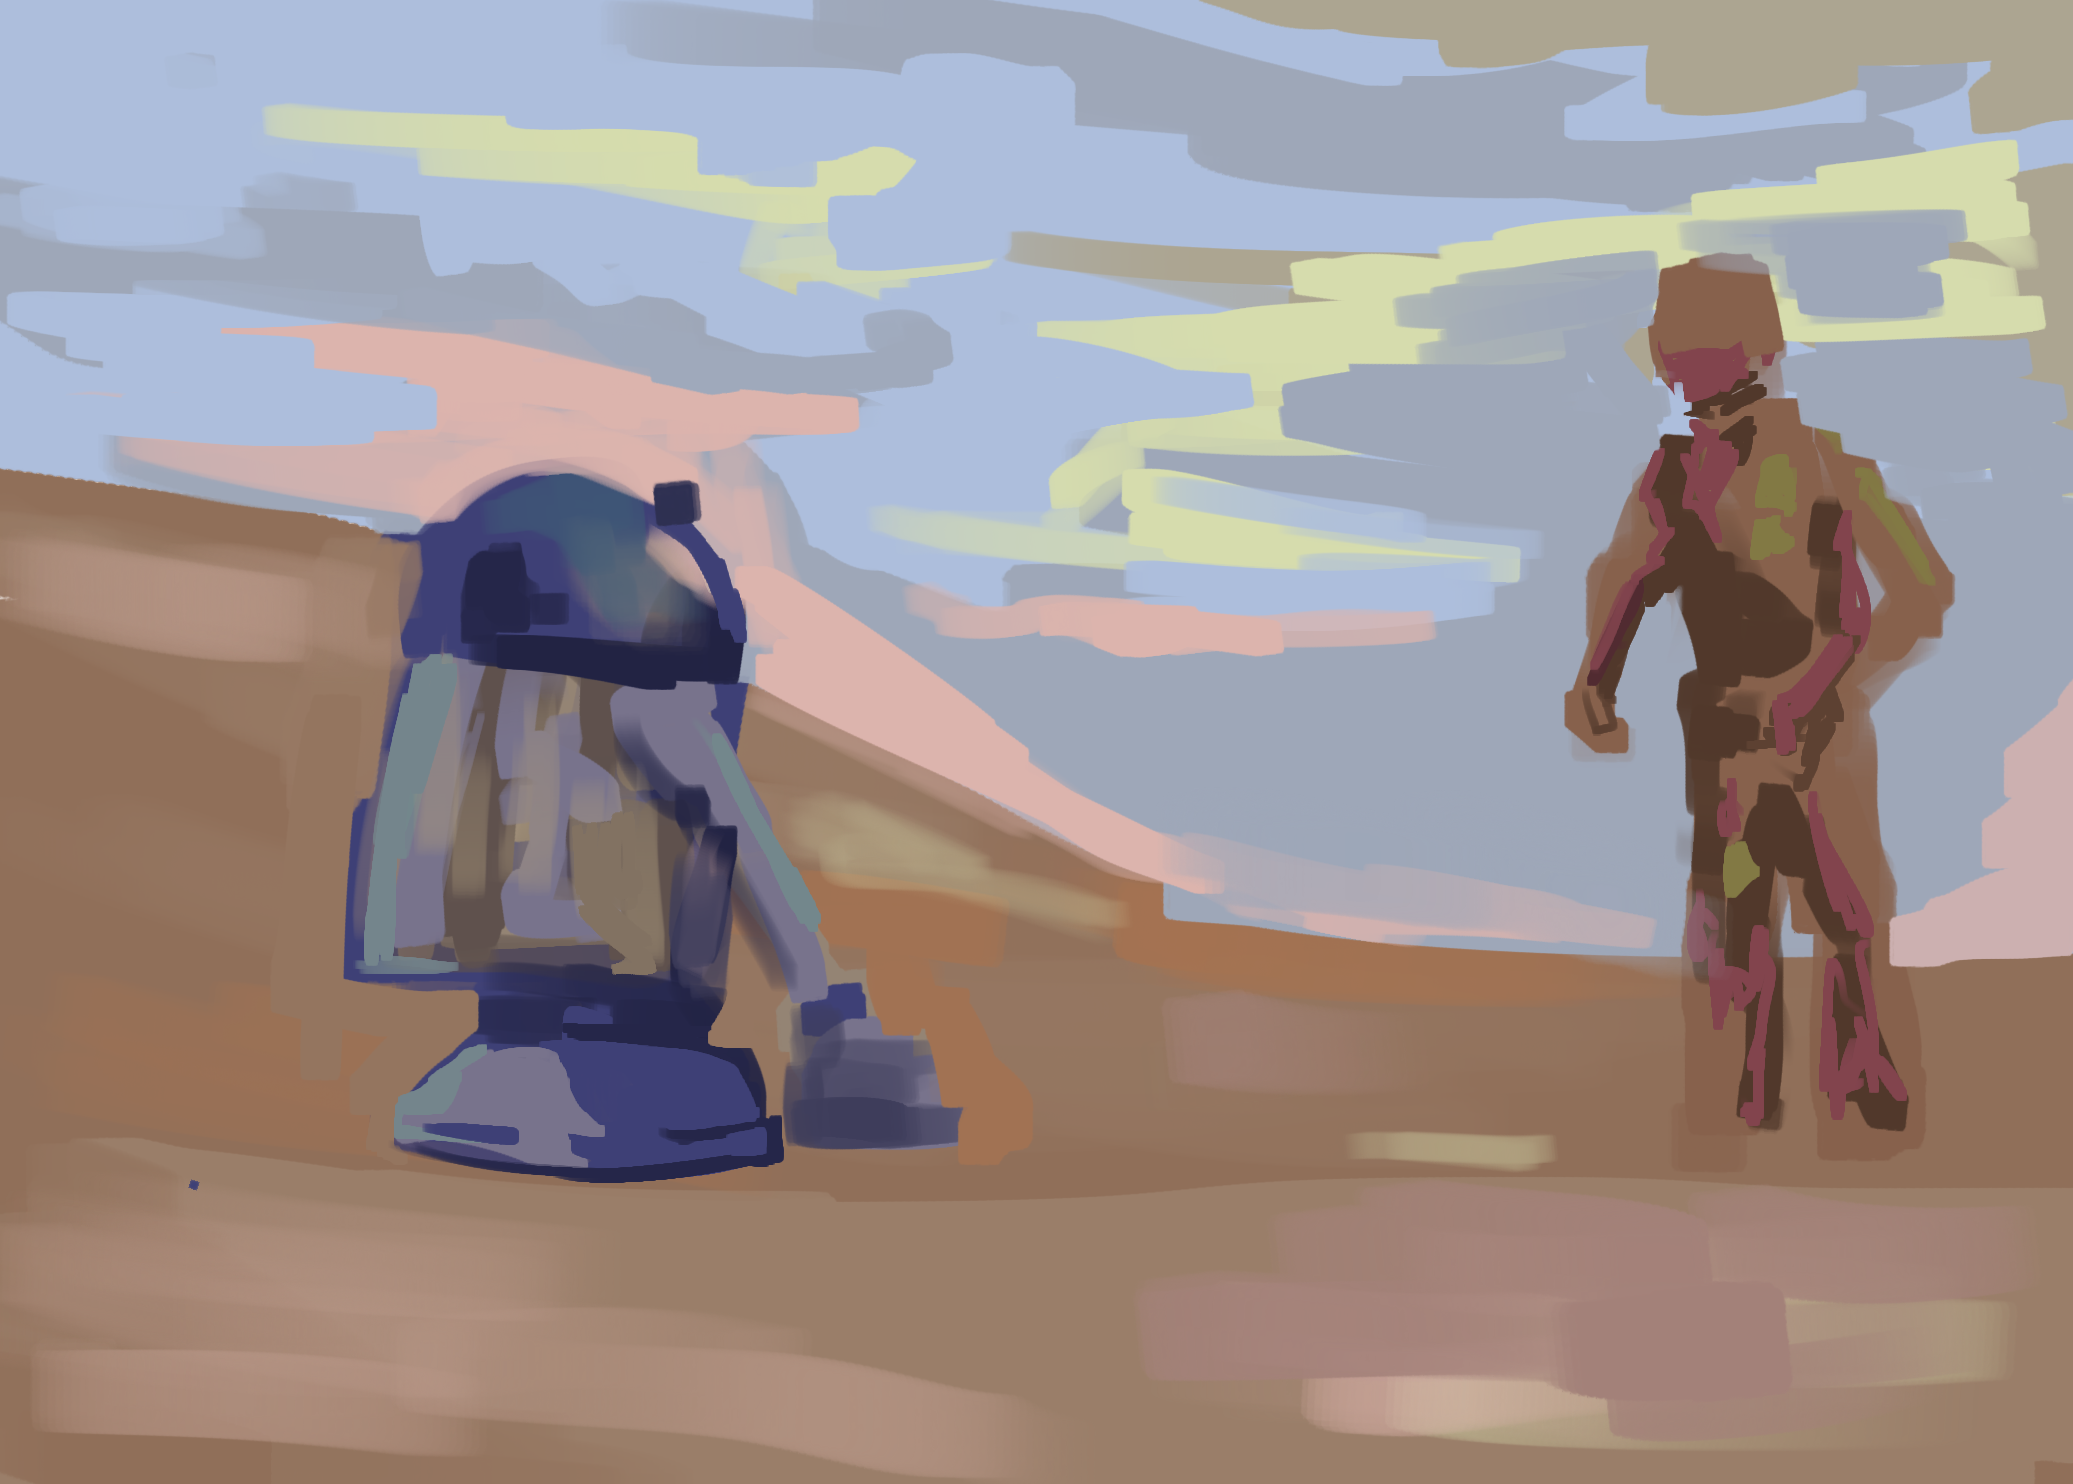
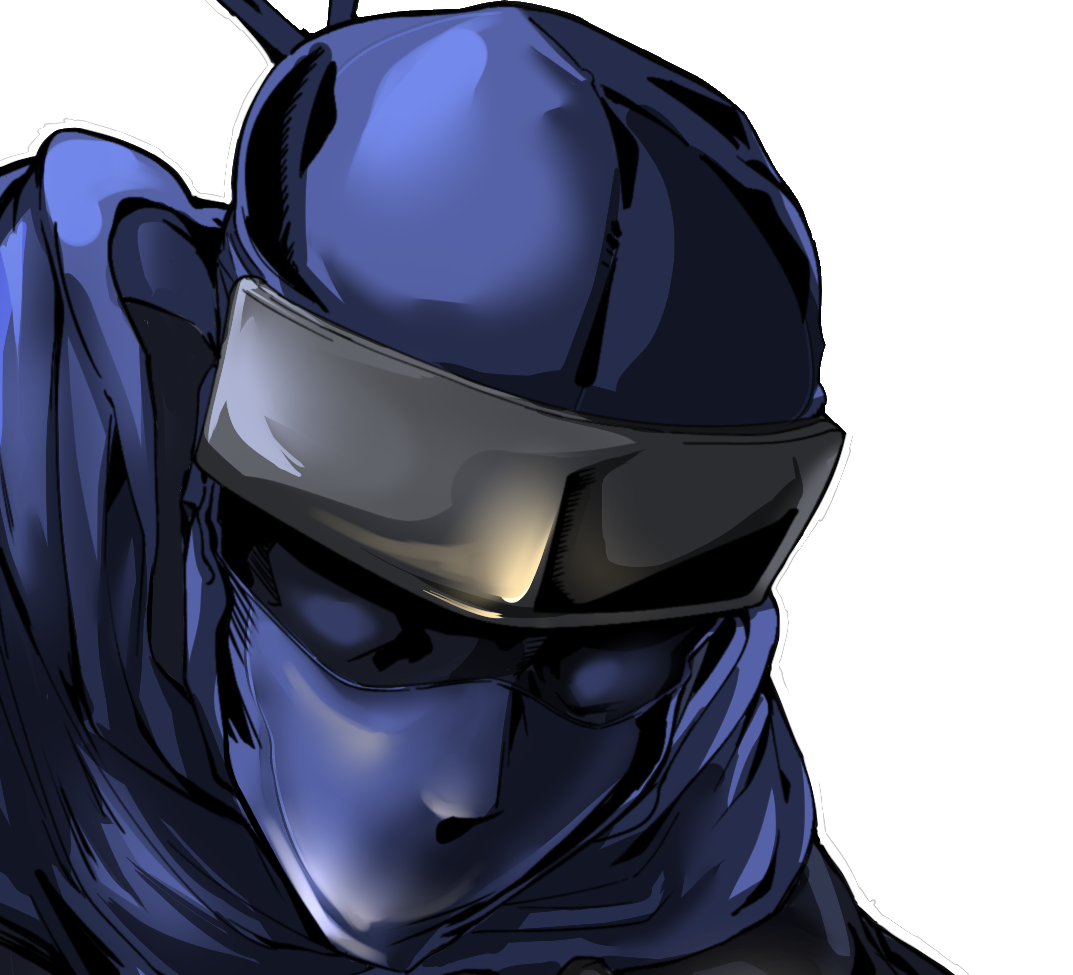
We keep the class creative by encouraging studies to apply these fundamentals to make colourful and unique results as seen below. Advanced students can also use the opportunity to learn about layer modes and textured brushes to achieve incredible effects, which gives them a solid base for the proceeding lessons.
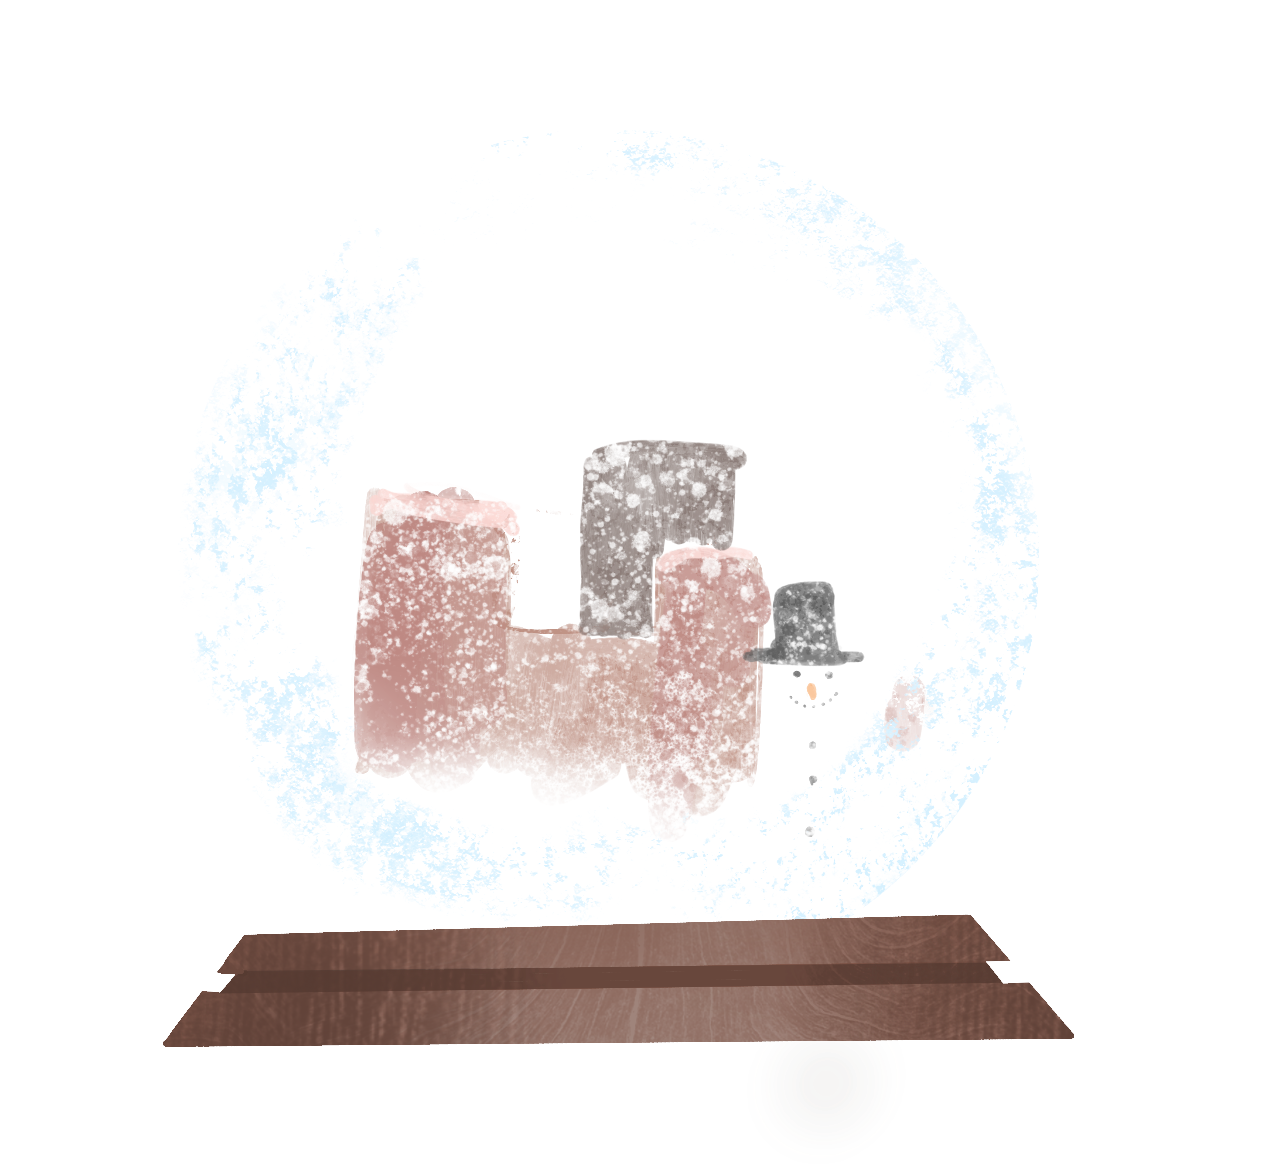
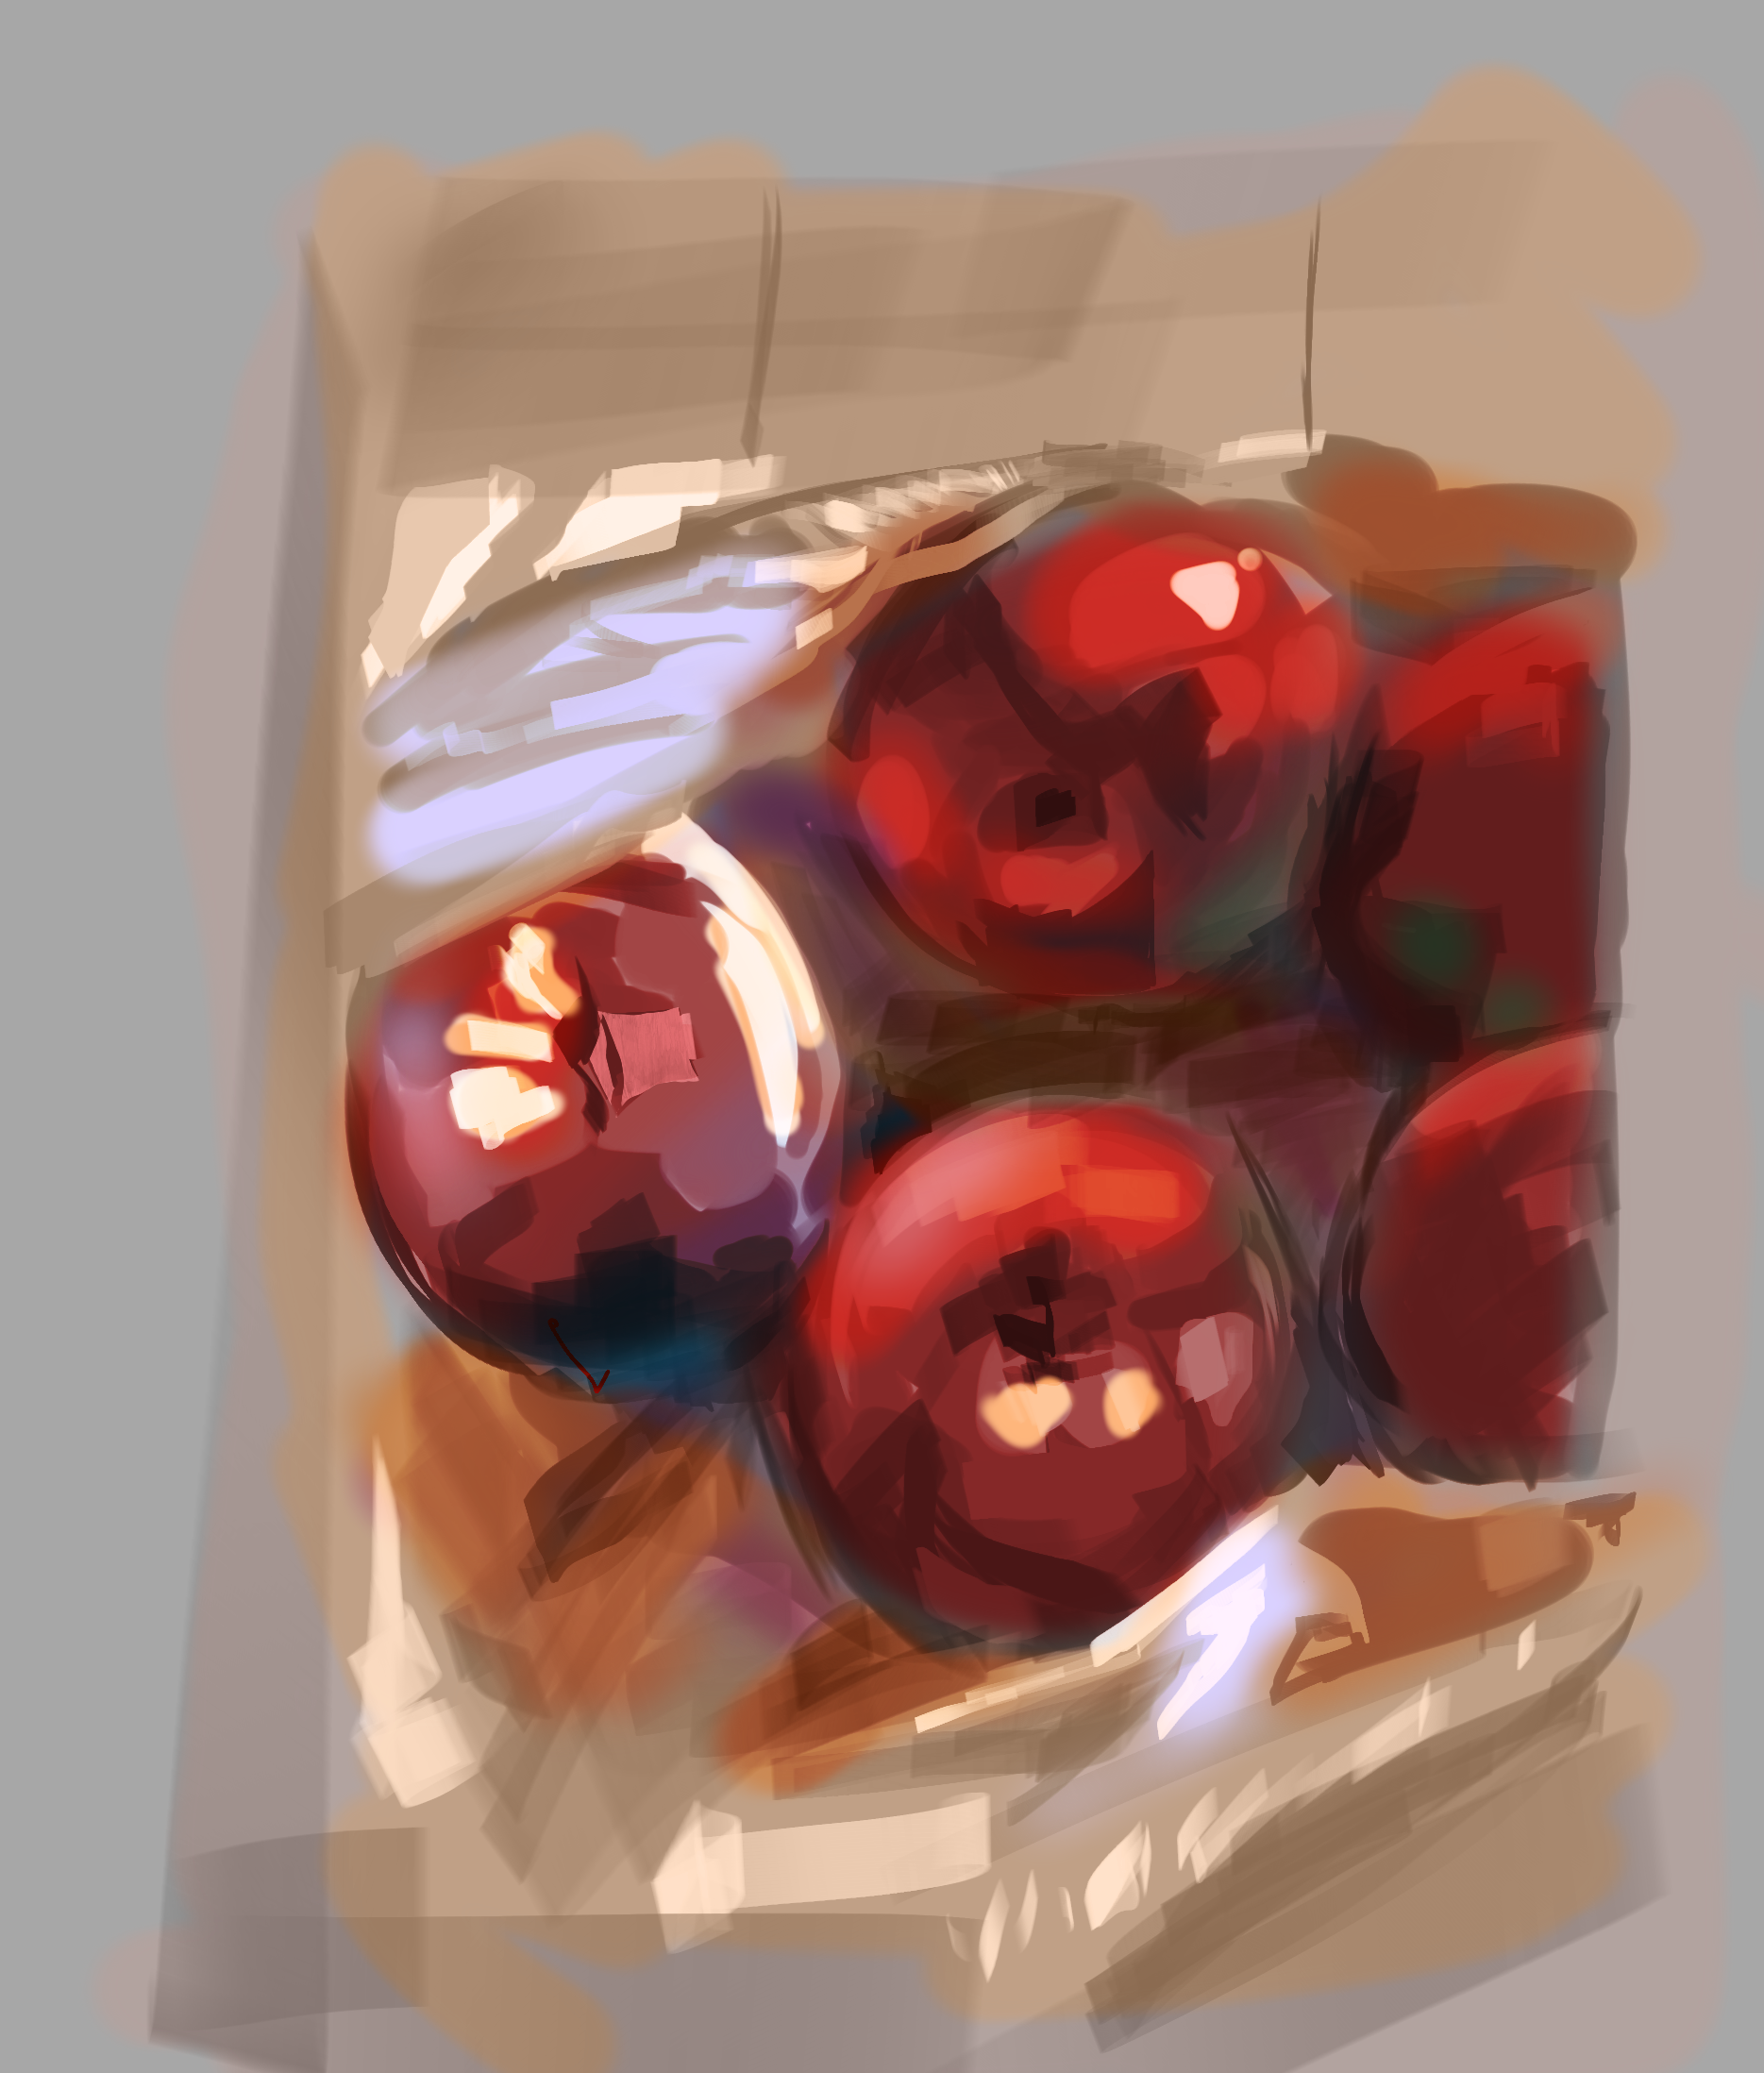
Lesson 2: Shadows and Layer Modes
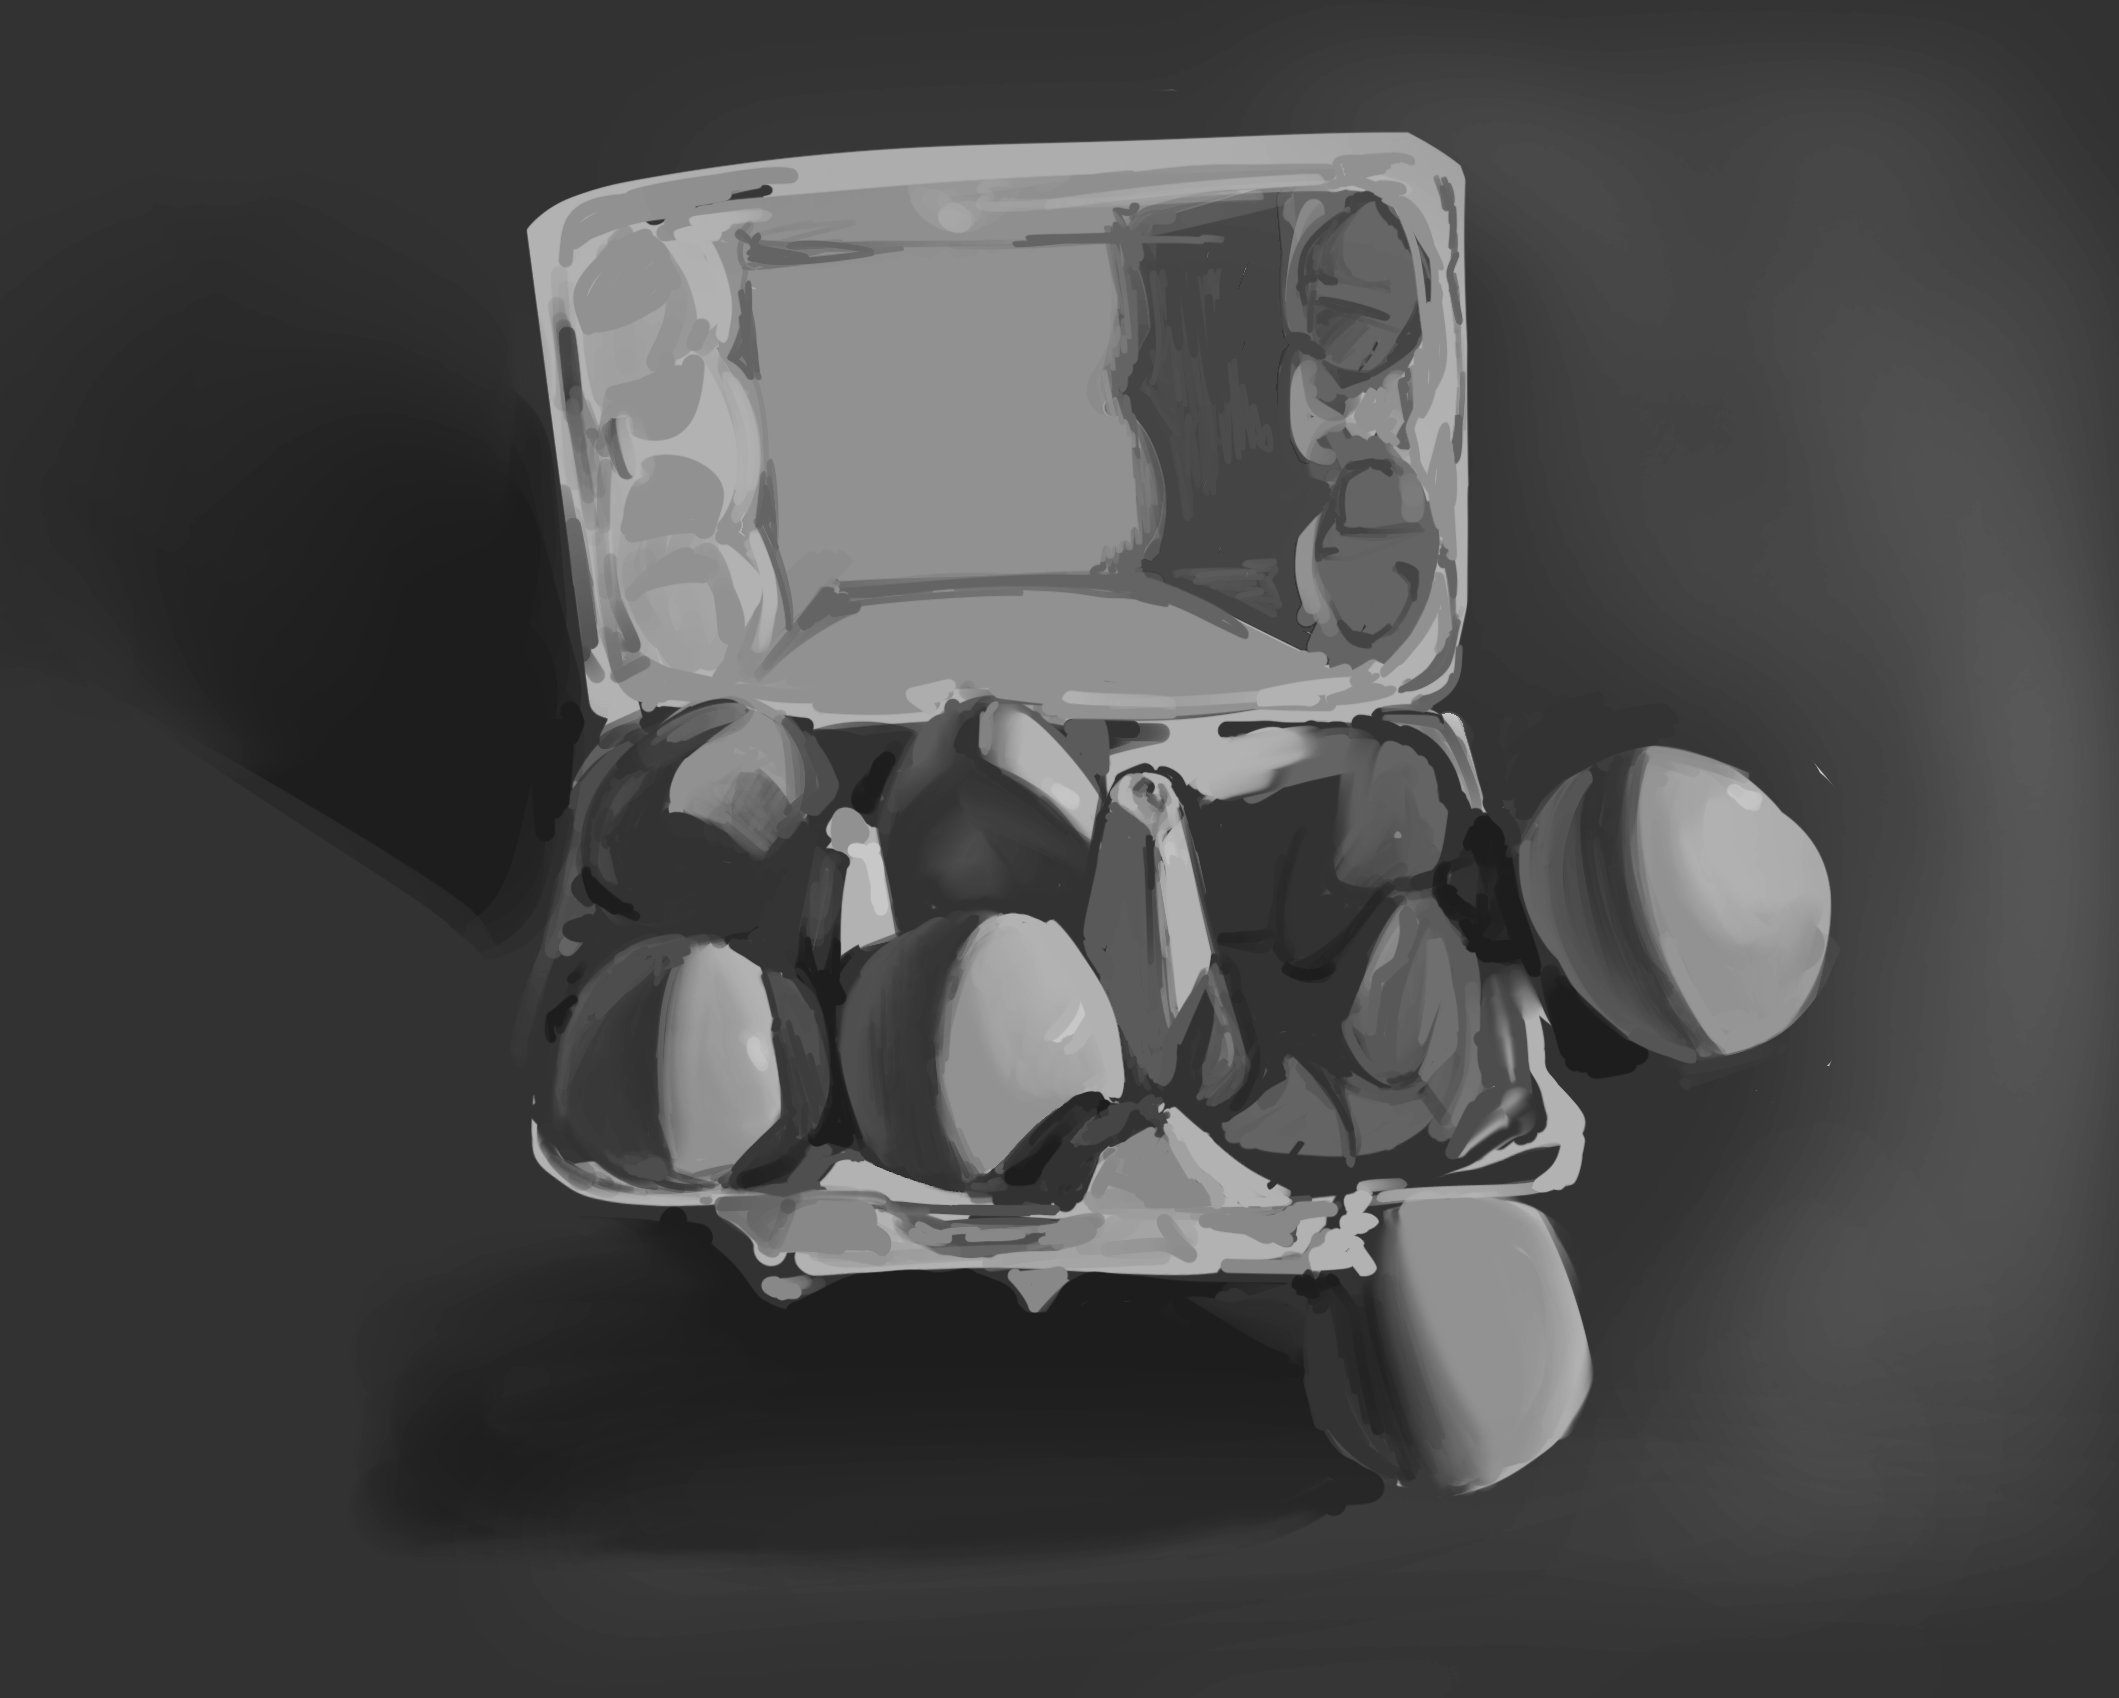
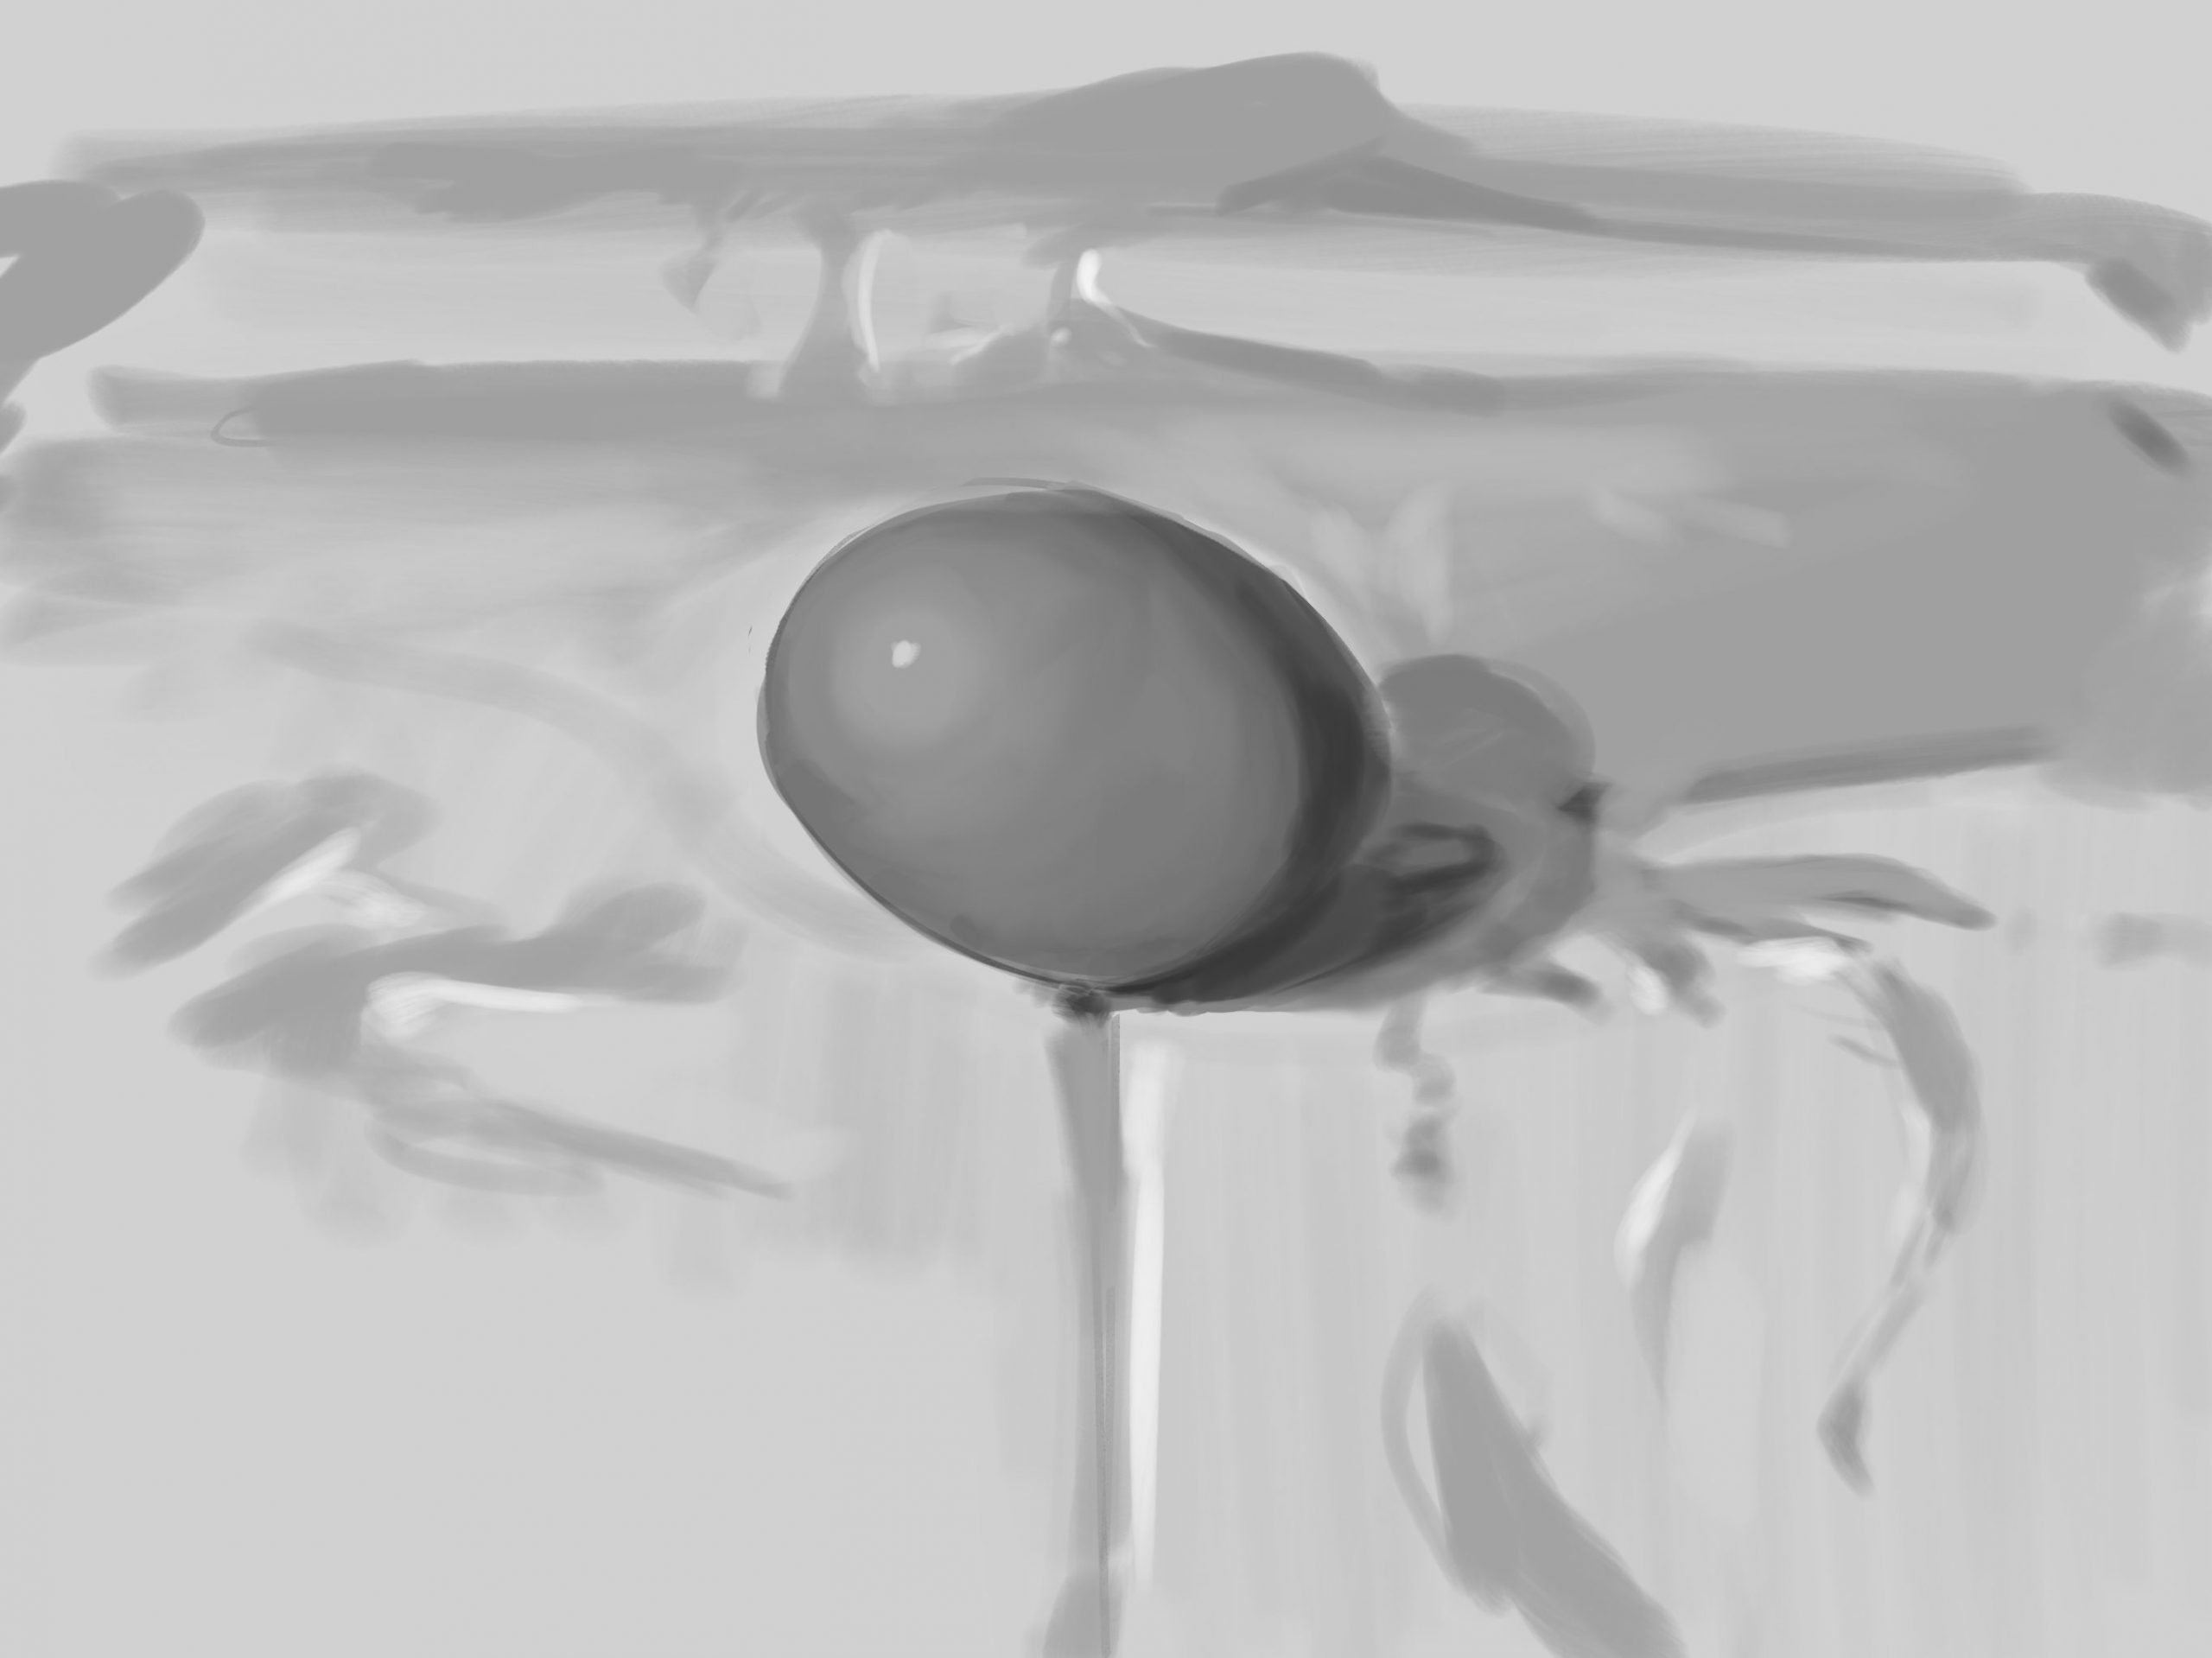
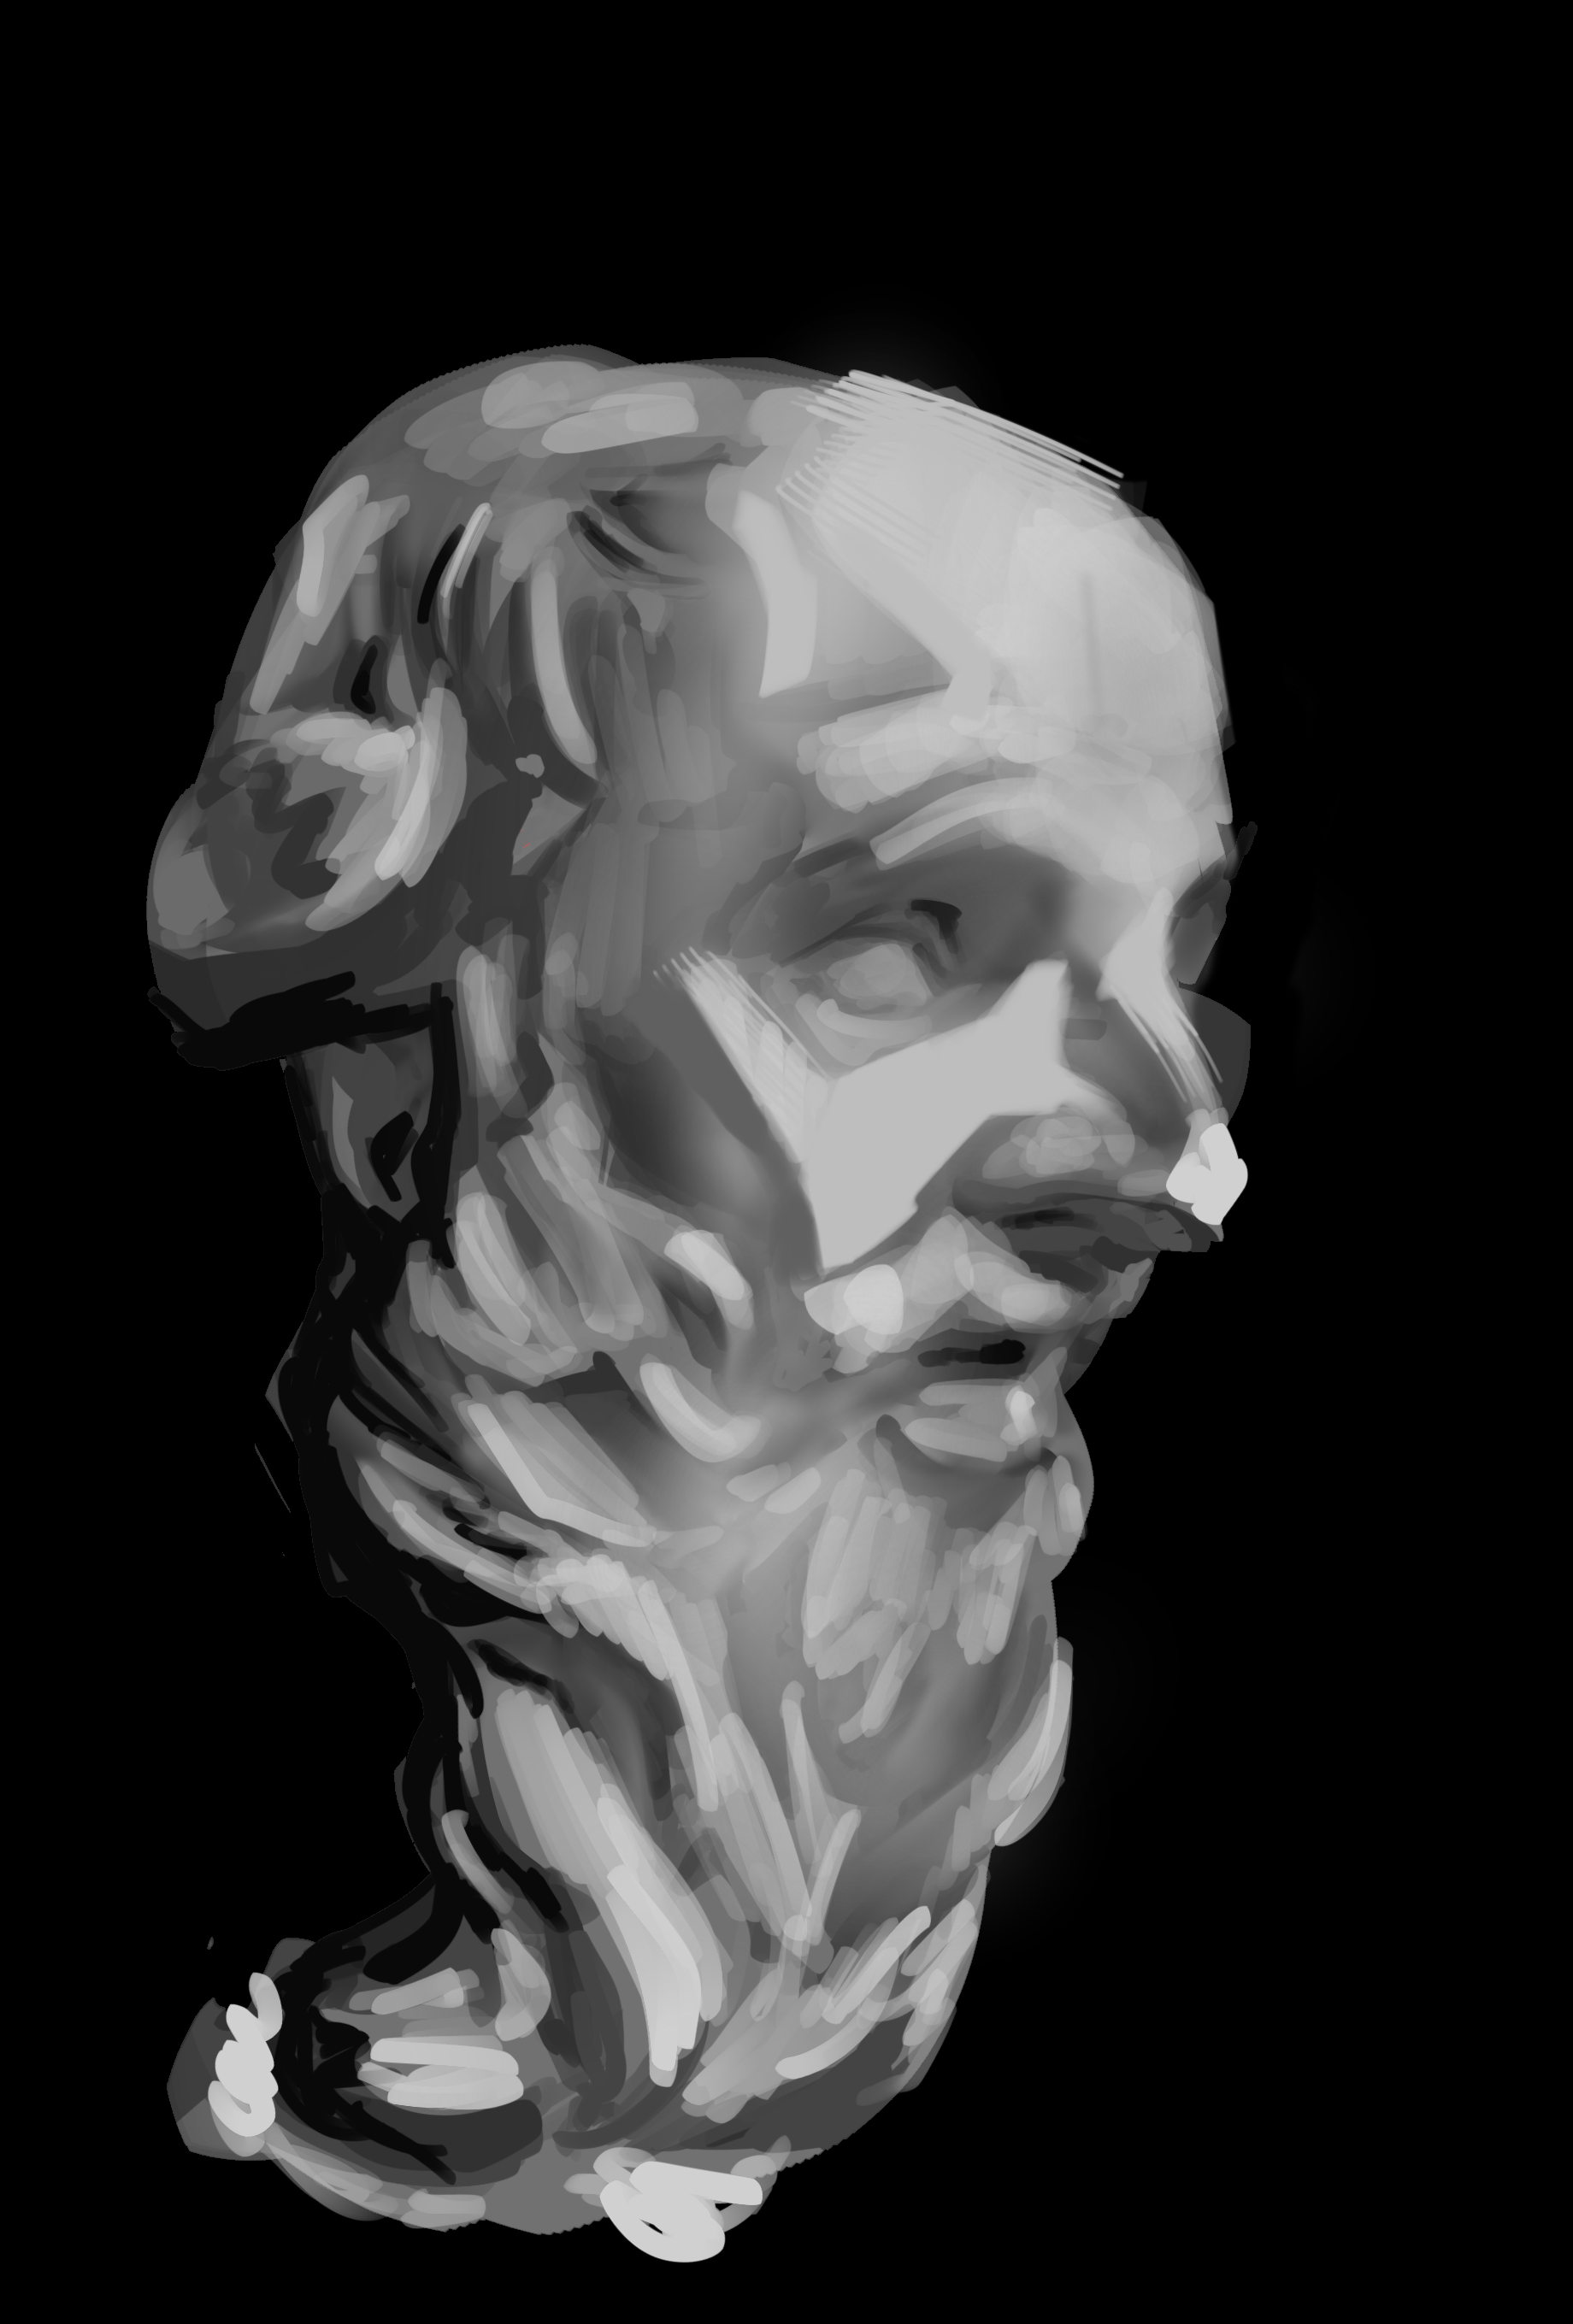
In our second class we lay the foundations for realism by studying black and white photos and exploring the physics of how shadows are cast on different objects.
As always, we try to bridge the gap between classical art training and modern digital software: in this case we begin with the “chiaroscuro” (light and shadow) technique from traditional painting and drawing styles, and then show how to easily add bring an existing black and white drawing to life with layer modes that add colour.
Layer modes are the defining feature of digital art software that allows them to mix and match effects and easily to adjust and transform images on the fly. Procreate’s 26 different blend modes for layers open up a huge amount of visual and creative opportunities that make help make digital art unique and fun to work on.
Lesson 3: Colour Theory and Palettes
Continuing from the previous lesson, we now start to apply colour as an extra layer to our value studies, while also exploring concepts of colour harmony as a seperate field of study. Procreate’s intuitive colour wheels allow students to immediately understand and apply concepts like tertiary, complementary and analogous colour schemes that are fundamental to art and design.
We can easily convert our existing value studies to colour by using the ‘tone curve’ and ‘gradient map’ tools to experiment with different colours on top of a solid foundation.
Finally we use the palette tool to pull out and analyse colours from existing images, paintings and film shots. This lets us get a practical understanding of how colours are combined and applied to make a finished work.
Lesson 4: Brushes and shape design
For the last part of our fundamental series we explain the basic parts of the Procreate brush maker to give students full control over the huge variety of shapes and textures that can be added to the canvas.
Brushes are a huge part of digital art that will add to the solid foundations we’ve built to enable students to work in a large variety of styles, from emulating traditional paintings to uniquely digital looks.
We also talk about composition to help train students’ skills of shape design and appeal, widely applicable skills across all art and design, and challenge students to simplify and compose their own backgrounds with the brushes provided